Restoring a Ramsay
A major conservation project has brought an important Australian painting – Hugh Ramsay’s The foil 1901 – back to life.

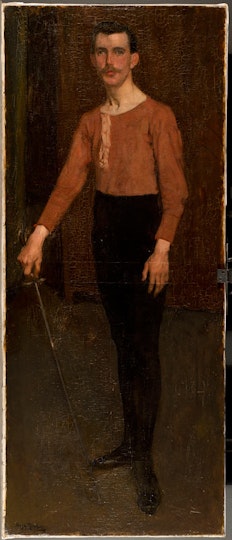
Hugh Ramsay’s conserved painting, The foil 1901, and frame
Hugh Ramsay’s conserved painting, The foil 1901, and frame
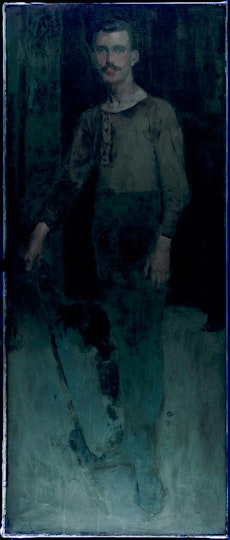
Australian artist Hugh Ramsay arrived in Paris in January 1901, aged 23. He moved into James Macdonald’s studio at 51 Boulevard Saint Jacques – captured in his self-portrait The artist’s studio 1901 – and enrolled at the Académie Colarossi, rue de la Grande Chaumière in the 6th Arrondissement. His Scottish cousin, John Forrest Ramsay, who stayed with him for a few weeks, sat for a portrait. Titled The foil, it shows John standing in front of a wardrobe, wearing Hugh’s personal fencing attire and holding a fencing sword, known as a foil, with his right hand. This full-length portrait clearly shows Hugh Ramsay’s admiration for the Spanish painter Velázquez, especially his 1628 portrait Felipe IV now in Madrid’s Prado museum.
The foil was gifted to the Art Gallery of NSW by the artist’s family in 1943. In 2014, thanks to Manny and Gail Pohl and a generous donation from the Pohl Foundation, we initiated a major conservation project – Gallery conservator Barbara Dabrowa undertook the frame conservation and I worked on the painting.
The frame’s condition had deteriorated through the years: the top layer of blitz bronze had oxidised, becoming very dark and there were losses, cracks and dents.
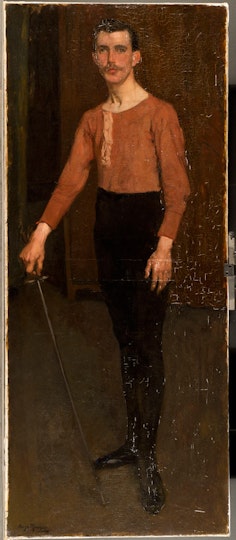
The painting’s paint film was significantly damaged, with drying cracks, aged cracks, uneven varnish layer and losses.
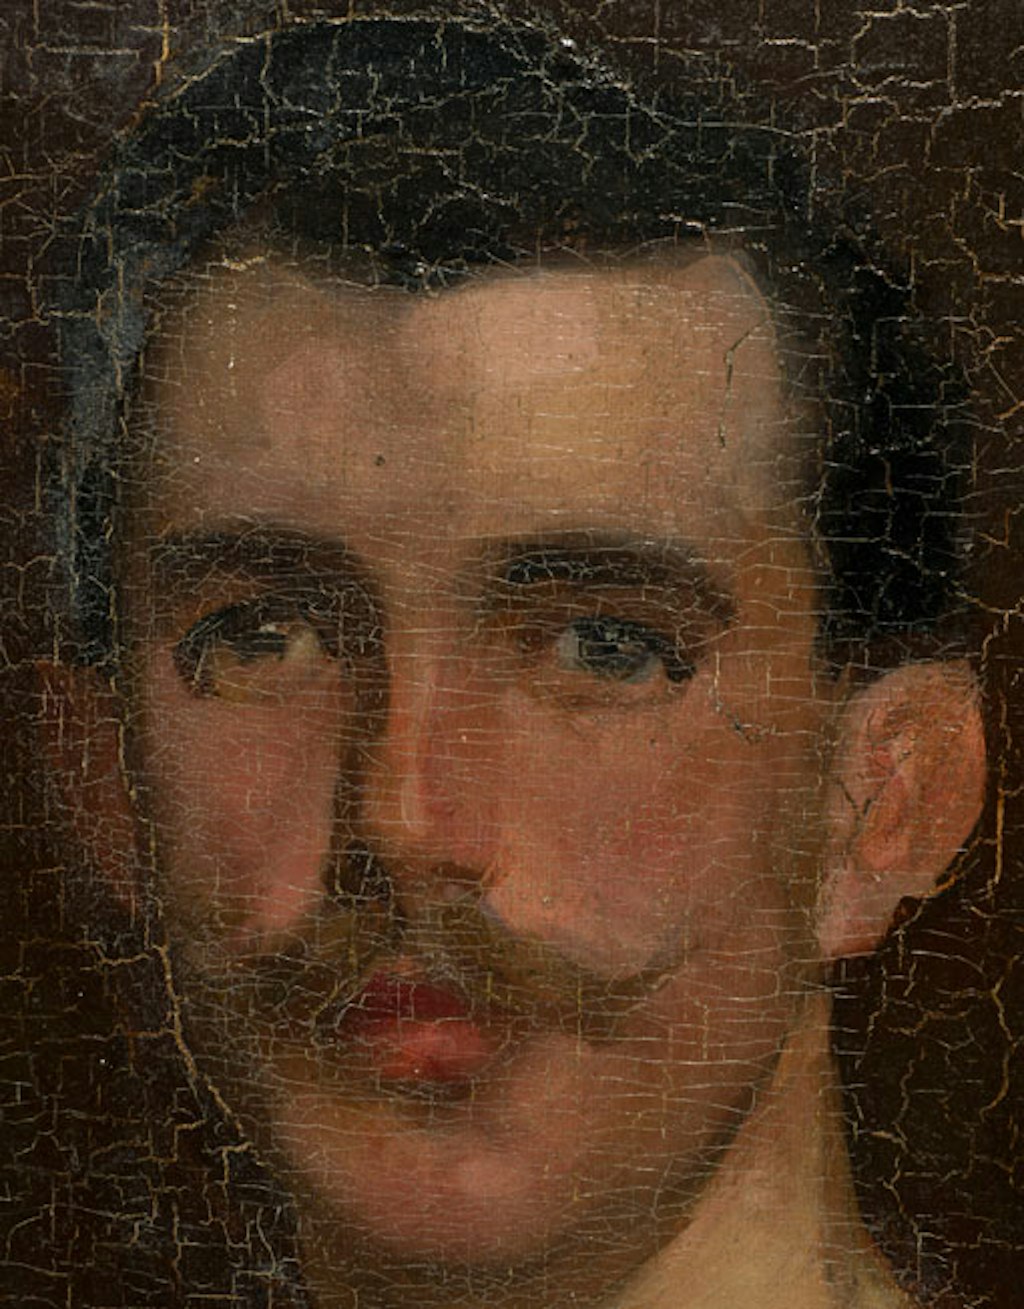
Before conservation treatment, drying cracks covered the painting’s entire surface
Before conservation treatment, drying cracks covered the painting’s entire surface
The main damage to the painting’s surface was the drying cracks, caused by the different drying rates of the ground layer and paint film. According to analysis done by Dr Brian Singer at Northumbria University in the UK, the binder of the paint film is linseed oil – which is fast drying – while the ground layer contains poppyseed oil – which is slow drying. The different drying rates of the ground and paint layers pulled the paint layer apart, creating a network of white lines which is visually very disturbing. Drying cracks like these occur soon after a painting is finished so there is a chance Ramsay may have seen the cracks appear on his painting. Our treatment approach was to remove the varnish layer, apply fillings in the deepest cracks, retouch all the cracks then revarnish the painting. This brought the subject the subject and all the details of the representation back to life, as the cracks disappear.
The foil is still housed within its original frame – an Italian architectural casetta style, made of timber moulding with a carved decoration of guilloche patterning between two taenias. The timber surface was painted with blitz bronze (brass particles in a medium) then given a matte finish.
Conservation treatment of the frame included removing the darkened layer of blitz bronze and filling the dents and losses with putty as well as a minimal retouching of the original surface with mineral gold (mica powders).
The conserved painting and frame are now back on the wall of the 19th-century Australian gallery for everyone to enjoy.
Watch the video for more insight into the project.
You can also see details of the conservation treatment in our image gallery, and read more about the process by clicking on an image.
The painting under ultraviolet light
Removing the top layer of varnish
Varnishing the painting
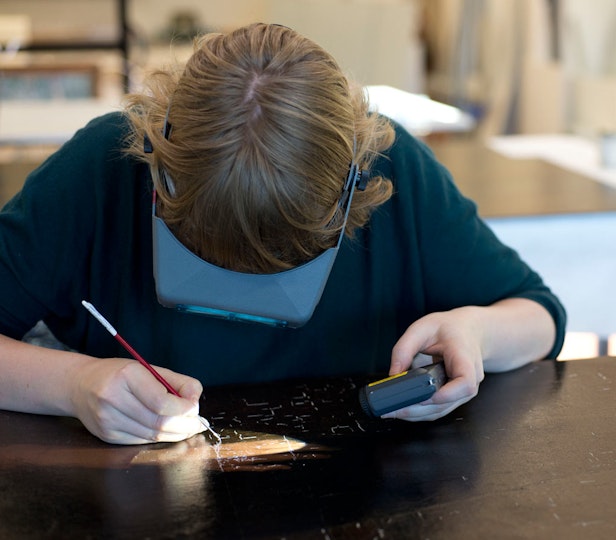
Filling the cracks
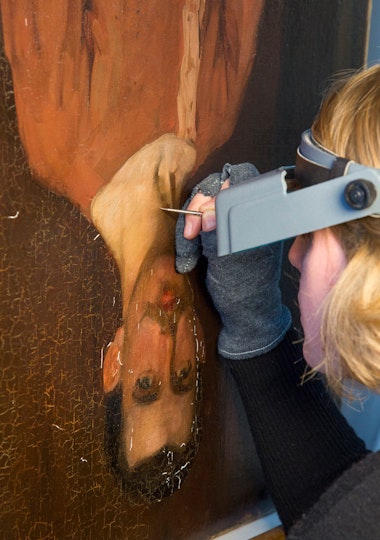
Retouching
The painting during retouching
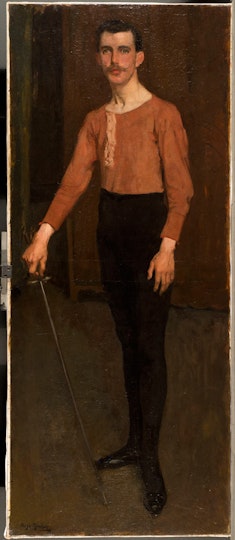
The painting after retouching
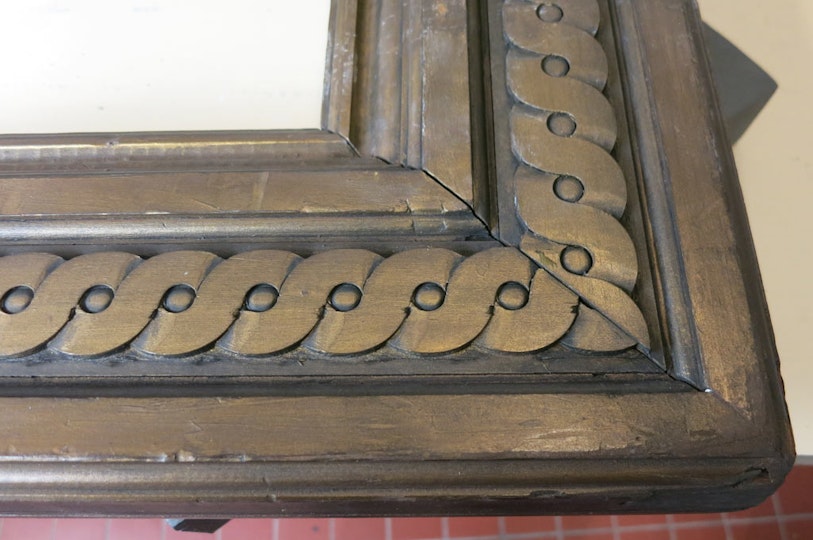
The frame before treatment
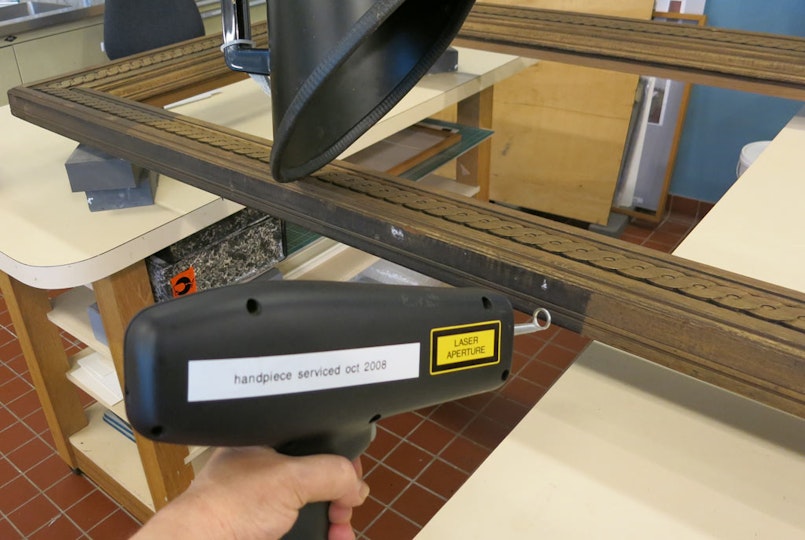
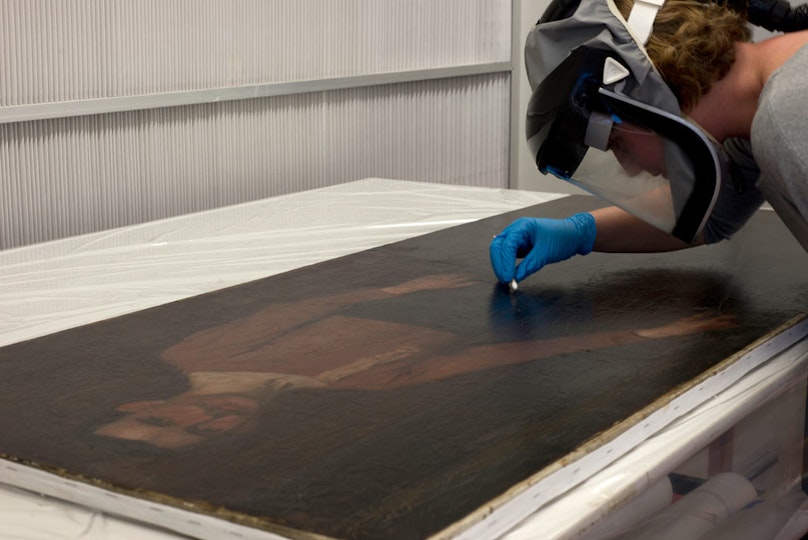
Laser cleaning the frame
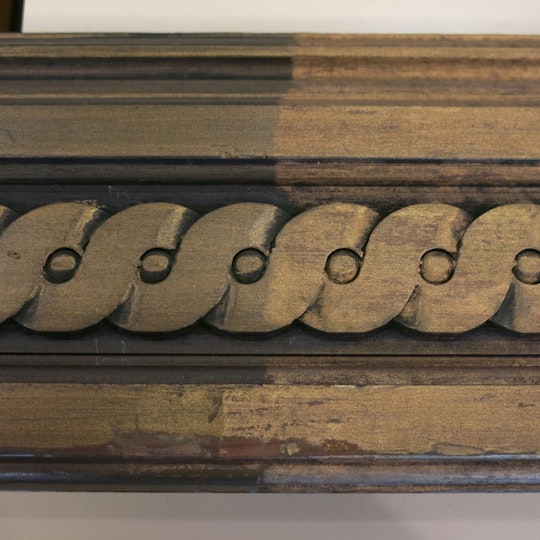
The frame during cleaning
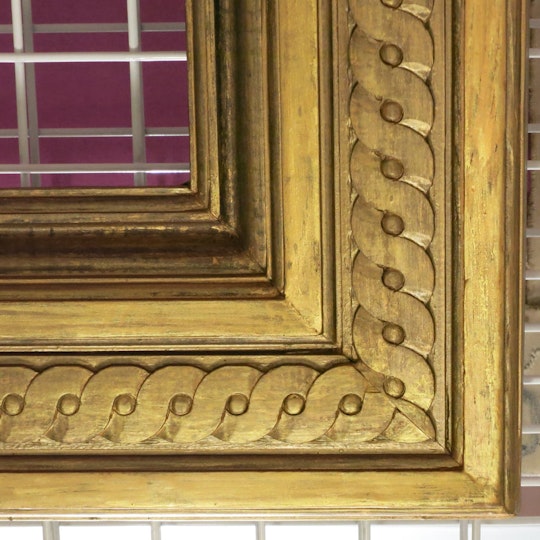
The frame after treatment